-
English
-
English
 Canada (English)
 Colombia
 Caribbean and Puerto Rico
 Ecuador
 India
India
 Indonesia
 Ireland
 Malaysia
 Mexico
 Panama
 Peru
Peru
 Philippines
 Singapore
 South Africa
 Sri Lanka
 Thailand
 United Kingdom
 United States
Why the Distinction between AI and Automation Matters for ERP

All Blogs
Every business has assets from which it derives value, and straight-line depreciation shows how the costs ...

In the battle between purpose-built and horizontal AI, there can only be one winner. Today, Acumatica’s Di...

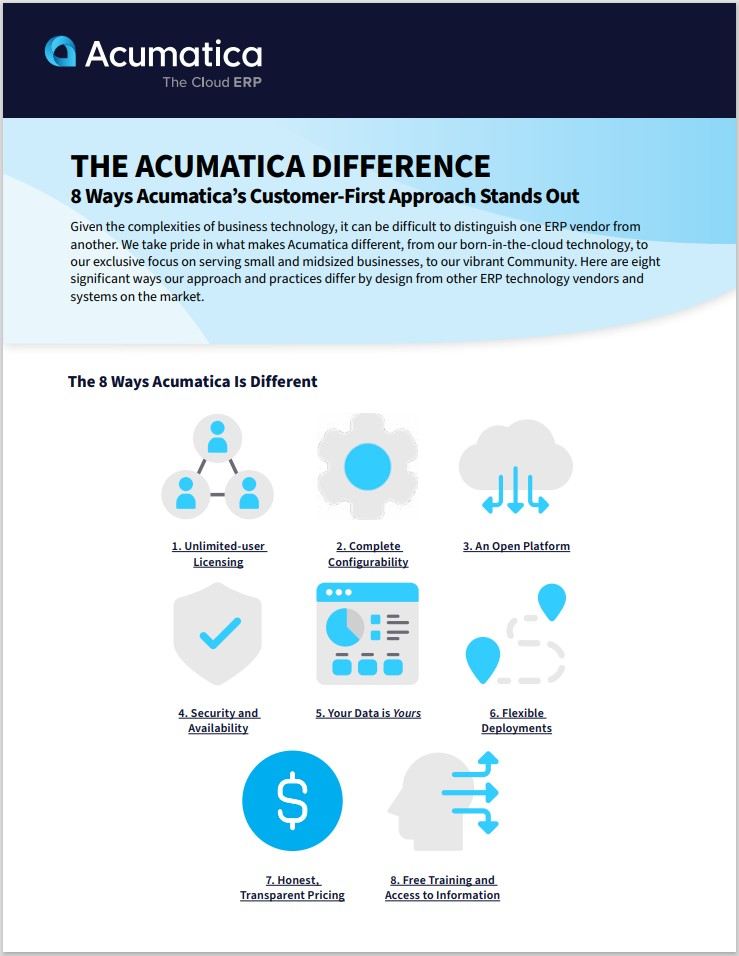
Explore how Acumatica’s customer-first approach, innovative technology, and flexible solutions redefine ERP for small and midsized businesses.
Cherry Republic went from a one-man show to a thriving manufacturing and retail business, and as an Acumat...

As a midmarket construction firm and Viewpoint Vista customer, you’re in the midst of a mandatory migratio...

Accounts receivable automation aids businesses in collecting customer payments faster and improving cash f...
Discover why upgrading from basic accounting tools to AI-powered Cloud ERP is critical for SMBs in today’s fast-paced, data-driven world.
Quickly shifting material costs and slow-moving quote updates can turn a metical fabrication job from prof...

AI helps today’s manufacturers become more efficient, produce higher quality products, and turn a bigger p...

Proactive financial risk detection is a daily reality for businesses that implement a modern ERP solution ...

Why did Vista Equity Partners acquire Acumatica ERP and what does this mean for Acumatica and its Communit...

AI in ERP can be a misleading term. Does it mean the ERP is providing external or embedded AI capabilities...